ATTENTION! I have a more updated guide for Ubuntu 24.04 LTS and encourage you to use 24.04 instead since the main Ubuntu repositories now support PHP 8.3 with no need for 3rd party repos. There are updated instructions, notes, and sequence of commands in the new guide and I’ve made some updates to this as of 04/23/2026, but still reccomend 24.04 LTS at minimum.
https://forum.invoiceninja.com/t/install-invoice-ninja-5-on-ubuntu-24-04-lts-tc-tutorial/23353
Install Invoice Ninja v5.5 on Ubuntu 22.04
Ubuntu and debian based distros are highly reccomended for running the InvoiceNinja software. If you are on a red hat based distro, or other OS, it would probably be best to just use a container and host the docker image.
- Most if not all of the commands below must be executed as sudo user, so you can enter a root user shell to make it easier, with
sudo bashor you can just preface every command withsudo. This guide and the commands below assume you are running a root user shell withsudo bash.
First: Install dependencies
Invoice Ninja is built on PHP 8.3, so we must first install that, and the recommended extensions for it. We can also install MariaDB for SQL service, NGINX will be used for webhosting in my tutorial, and vim as tools for later steps.
As of 11/13/2024 this guide was updated to include adding the third party repository below ppa:ondrej/php in order to install php8.3
# apt update
# apt dist-upgrade -y

# add-apt-repository ppa:ondrej/php
# apt update

# apt install php8.3-bcmath php8.3-gmp php8.3-fileinfo \
    php8.3-gd php8.3-mbstring php8.3-pdo php8.3-xml php8.3-cli \
    php8.3-curl php8.3-zip php8.3-gmp php8.3-mysql php8.3-fpm

# apt install mariadb-server mariadb-client nginx vim
Second: Configure MariaDB
Start, and enable services for mariadb, the program/service that manages your SQL database and the incoming and outgoing communication it has with other applications like Invoice Ninja.
# systemctl enable --now mariadb
This command will take you through a guided wizard to initialize the SQL database. Remember Make sure to change your SQL root password, and save that password somewhere safe and secure, to protect access to the databases.
# mysql_secure_installation

Enter current password for root (enter for none):

Switch to unix_socket authentication [Y/n] n

Change the root password [Y/n] y

Remove anonymous users? [Y/n] y

Disallow root login remotely? [Y/n] y

Remove test database and access to it? [Y/n] y

Reload privilege tables now? [Y/n] y
These commands will directly access the SQL database through the services provided by mariadb. We will create a database with any arbitrary name ‘ninjadb’ in this example, and create arbitrary username and password combination ‘ninja’ and ‘ninjapass’. The database name will be used by InvoiceNinja during the server setup after installation is complete, as well as the username and password you specify here, in order for InvoiceNinja to login to the SQL database with read/write permission.
# mysql -u root -p
Enter Password:  ******
MariaDB .. > create database invoicedb;
MariaDB .. > create user 'ninja'@'localhost' identified by 'ninjapass';
MariaDB .. > grant all privileges on invoicedb.* to 'ninja'@'localhost';
MariaDB .. > flush privileges;
MariaDB .. > exit
Third: Installing Invoice Ninja
Installing the application files in the NGINX web server directory.
Please visit https://github.com/invoiceninja/invoiceninja/releases to get the latest github release of InvoiceNinja from the team. Look closely at what you are downloading, the list also includes recent updates to v4. Dropping to root will help us navigate the folder structure without permission issues.
  # cd /usr/share/nginx
  # mkdir invoiceninja && cd invoiceninja
  # wget <latest invoiceninja.tar url link>
  # tar -xvf invoiceninja.tar
  # rm invoiceninja.tar
Populate .env file
The Invoice Ninja package doesn’t contain a .env file, so it won’t overwrite your existing file when you update. It does include a .env.example file. Note, that the .env file will automatically be populated with
# cp .env.example .env
Backup your .env file
# cp .env /path/to/backup/.env.bak
Prepare Invoice Ninja permissions
Set permissions for the directory and all its contents to allow web server permission to view and edit files. The default user for Ubuntu and debian based distros is www-data.
# chown -R www-data:www-data /usr/share/nginx/invoiceninja
Enable Cron job automation
Now, there is need to enable cron job that will run some sort of regular maintenance, or you get a nasty red exclamation mark error in InvoiceNinja after logging in. See here for more: https://invoiceninja.github.io/selfhost.html#installing-invoice-ninja
# sudo -u www-data crontab -e
Then copy paste the following into the bottom of your cron file, which will be run for something to do with laravel which InvoiceNinja depends on.
This will run, as user www-data, with the explicitly correct php version, the artisan schedule command in order to provide Invoice Ninja application with the backend services it needs to work properly. Edit the path according to your environment, also, specifying which version of php to use in the crontab, and other places, ensures we don’t inadvertently use the wrong version on a system with multiple versions of php running.
* * * * * php8.3 /usr/share/nginx/"""invoiceninja"""/artisan schedule:run >> /dev/null 2>&1
Manually Update MariaDB config in .env
During the webgui setup step for Invoice Ninja, sometimes you may pass the check to validate your db credentials, but you will get an ERROR 500 afterwards, and if you check storage/logs/laravel.log you might see log messages about failures to connect to the db.
In this case, manually update the .env file to explicitly use the credentials, because the setup might not be saving your db name and credentials to the .env file before running actual setup with laravel.
Manually enter the database name, username and password, and if applicable, host address and port for highly customized setups. These were setup above in step 2 - Configure MariaDB.
  DB_HOST="localhost"
  DB_DATABASE="invoicedb"
  DB_USERNAME="ninja"
  DB_PASSWORD="ninjapass"
  DB_PORT="3306"
Then, after setting up NGINX and running the webgui setup you can force through the initial setup.
Fourth: Configure NGINX
FOR TESTING - NOT for Production use - OpenSSL certification
You should not need to do this. I am about to show you NGINX configuration file that points to an example based openssl cert. Most of you would be using letsencrypt, or some other CA. I am not going to provide a guide to setup letsencrypt. So for the purposes of this guide, the NGINX configuration will use an instant OpenSSL certificate that is not particularly trusted on the Internet.
# mkdir -p /etc/nginx/cert
# openssl req -new -x509 -days 365 -nodes -out /etc/nginx/cert/ninja.crt -keyout /etc/nginx/cert/ninja.key
Secure NGINX
The default NGINX install on Ubuntu has a pesky default website located at /etc/nginx/sites-enabled/default - and for our cases, we do not want this default website hosted by nginx. When left unconfigured, this page presents some security loopholes. It can also cause conflicts sometimes. Lets remove it.
# rm /etc/nginx/sites-enabled/default
NGINX configuration page for website
Create the text configuration file for a new vhost in the sites-available folder, best practice if you host multiple websites or webapps from a single server.
# vim /etc/nginx/sites-available/invoiceninja.mysite.com
Press ‘i’ to enter insert mode, and paste this server configuration.
Review it line by line, and edit the server name, root path, ssl path, php-fpm socket path, etc, as necessary.
You cannot copy paste this entire document, you will need to edit appropriate sections to accomodate your own environment. I will try to “”“indicate”“” when specific strings of text need your attention.
NOTE this guide uses a standard self-signed cert for SSL, so in the NGINX config sample file below, you will need to edit the lines for the path of an example of a self-signed cert, to instead point at your own real certs.
server {
# NOTE That the 'default_server' option is only necessary if this is your primary domain application.
# If you run multiple subdomains from the same host already, remove the 'default_server' option.
listen 443 ssl http2 default_server;
listen [::]:443 ssl http2 default_server;
server_name """invoices.example.ca""";
client_max_body_size 20M;
# This if statement will forcefully redirect any connection attempts to explicitly use the domain name.
# If not, and your DNS doesn't provide IP address protection, accessing the server with direct IP can
# cause glitches with the services provided by the app, that could be security, or usability issues.
if ($host != $server_name) {
return 301 https://$server_name$request_uri;
}
# Here, enter the path to your invoiceninja directory, in the public dir. VERY IMPORTANT
# DO NOT point the root directly at your invoiceninja directory, it MUST point at the public folder
# This is for security reasons.
root /usr/share/nginx/"""invoiceninja"""/public;
gzip on;
gzip_types application/javascript application/x-javascript text/javascript text/plain application/xml application/json;
gzip_proxied no-cache no-store private expired auth;
gzip_min_length 1000;
index index.php index.html index.htm;
# Enter the path to your existing ssl certificate file, and certificate private key file
# If you don’t have one yet, you can configure one with openssl in the next step.
ssl_certificate "/etc/nginx/cert/ninja.crt";
ssl_certificate_key "/etc/nginx/cert/ninja.key";
ssl_session_cache shared:SSL:1m;
ssl_session_timeout 10m;
ssl_ciphers 'AES128+EECDH:AES128+EDH:!aNULL';
ssl_prefer_server_ciphers on;
ssl_protocols TLSv1 TLSv1.1 TLSv1.2;
charset utf-8;
# Load configuration files for the default server block.
include /etc/nginx/default.d/*.conf;
location / {
try_files $uri $uri/ /index.php?$query_string;
}
if (!-e $request_filename) {
rewrite ^(.+)$ /index.php?q= last;
}
location ~ \.php$ {
fastcgi_split_path_info ^(.+\.php)(/.+)$;
# Here we pass php requests to the php8.3-fpm listen socket.
# PHP errors are often because this value is not correct.
# Verify your php8.3-fpm.sock socket file exists at the below directory
# and that the php8.3-fpm service is running.
fastcgi_pass unix:/run/php/php8.3-fpm.sock;
fastcgi_index index.php;
include fastcgi_params;
fastcgi_param SCRIPT_FILENAME $document_root$fastcgi_script_name;
fastcgi_intercept_errors off;
fastcgi_buffer_size 16k;
fastcgi_buffers 4 16k;
}
location ~ /\.ht {
deny all;
}
location = /favicon.ico { access_log off; log_not_found off; }
location = /robots.txt { access_log off; log_not_found off; }
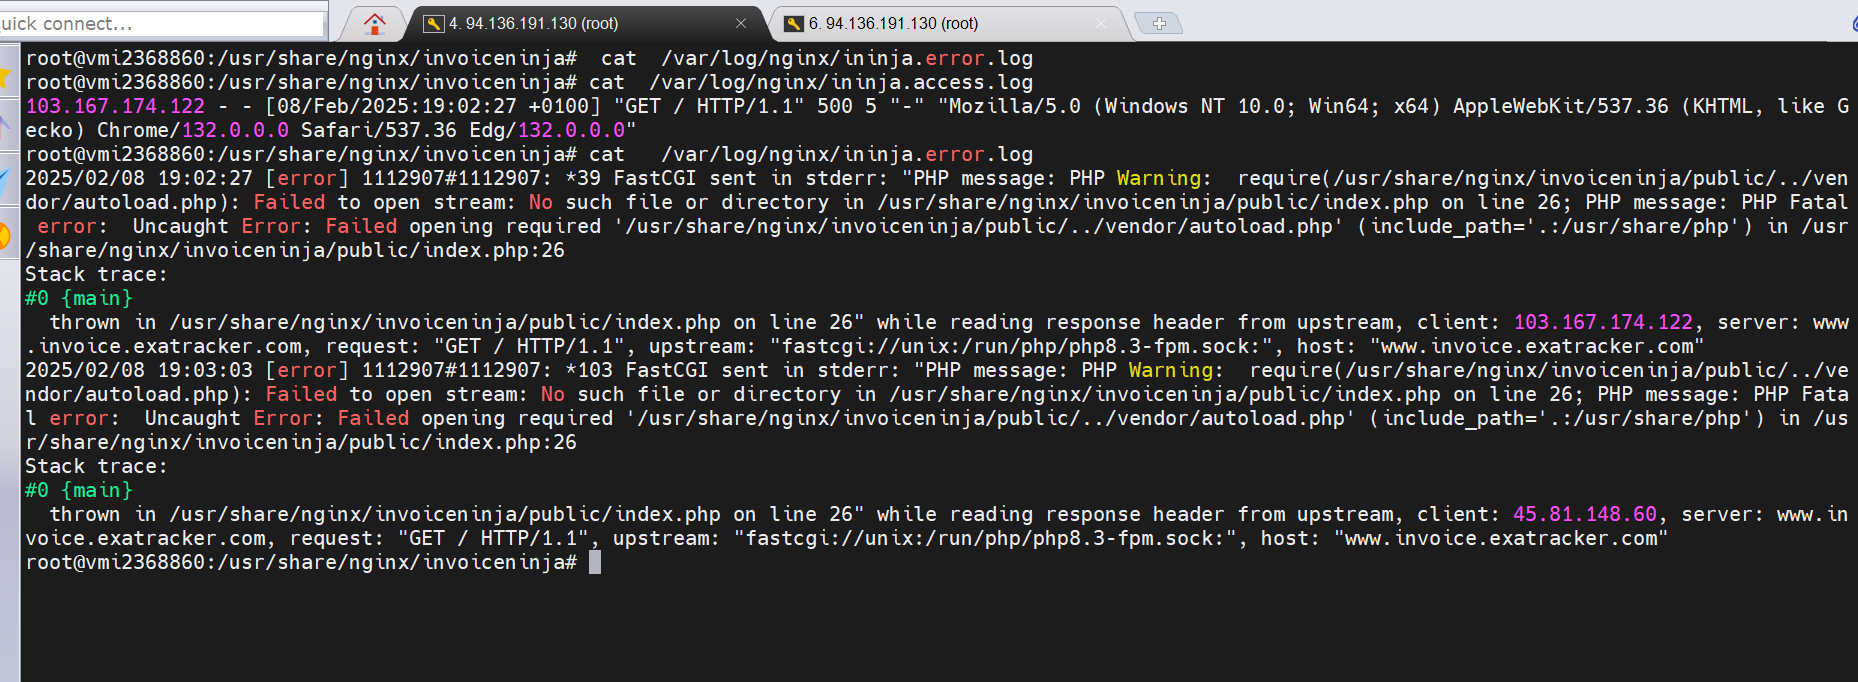
access_log /var/log/nginx/ininja.access.log;
error_log /var/log/nginx/ininja.error.log;
sendfile off;
}
server {
listen 80;
server_name """invoices.example.ca""";
add_header Strict-Transport-Security max-age=2592000;
rewrite ^ https://$server_name$request_uri? permanent;
}
Make sure you change any variables for your environment, “”“recommended by use of quotations”“”.
Create a symlink
In for NGINX to use the vhost file you just created, you must setup a symlink to the sites-enabled folder, note that you must also use a full, explicit directory path and not a relative path for this command, or you will encounter an error:
# ln -s /etc/nginx/sites-available/invoiceninja.mysite.com /etc/nginx/sites-enabled/invoiceninja.mysite.com
Verify your NGINX configuration with the following command, and troubleshoot any errors on the lines it specifies for you;
# nginx -t
Disable & stop Apache2. Start & enable NGINX.
For Ubuntu Server edition, you might have apache2 installed and enabled by defualt. Follow the steps below to disable apache2, and enable nginx instead for webhosting service.
  # systemctl stop apache2
  # systemctl disable apache2
  # systemctl enable nginx
  # systemctl start nginx
Fin
Now that your website is ready, you can run through the web-based setup of your company, by visiting the initial setup page:
https://invoiceninja.mysite.com/setup
BACKUP FILES & DATA
- Backup the
.envfile which holds primary server configurations - Backup the SQL database, by dumping it into a file.
- Backup the contents of the
public/storagedirectory, where logo images, PDFs, attachments, etc are all saved in a nested structure, and referenced by the SQL database so the program can find them later.
11/13/2024 - Update on PHP versions. You will require to update to a third party repository as seen in the instructions above, in order to add php8.3 to Ubuntu 22.04 LTS, to run this app best now. Please keep in mind, as a system maintainer, you may run multiple versions of the php-fpm socket side by side, and in the folder /run/php/ you will find files that only exist when those services are active, and there will be a php8.3-fpm.sock for the version specified in this tutorial explicitly, but you can point the NGINX config file for invoice ninja to use a different version in this same folder. You can also point at php-fpm.sock which is a link file that redirects to the latest running version of the php-fpm socket, just keep in mind that this can mean your setup will automatically upgrade PHP versions with you, and that might or might not be desirable for you.
The following line in the NGINX config file for Invoice Ninja governs which php-fpm socket is used:
fastcgi_pass unix:/run/php/php8.3-fpm.sock;